
How to Set Up a Pull-Up Bar at Home (No Drilling, No Tools, Two Minutes)
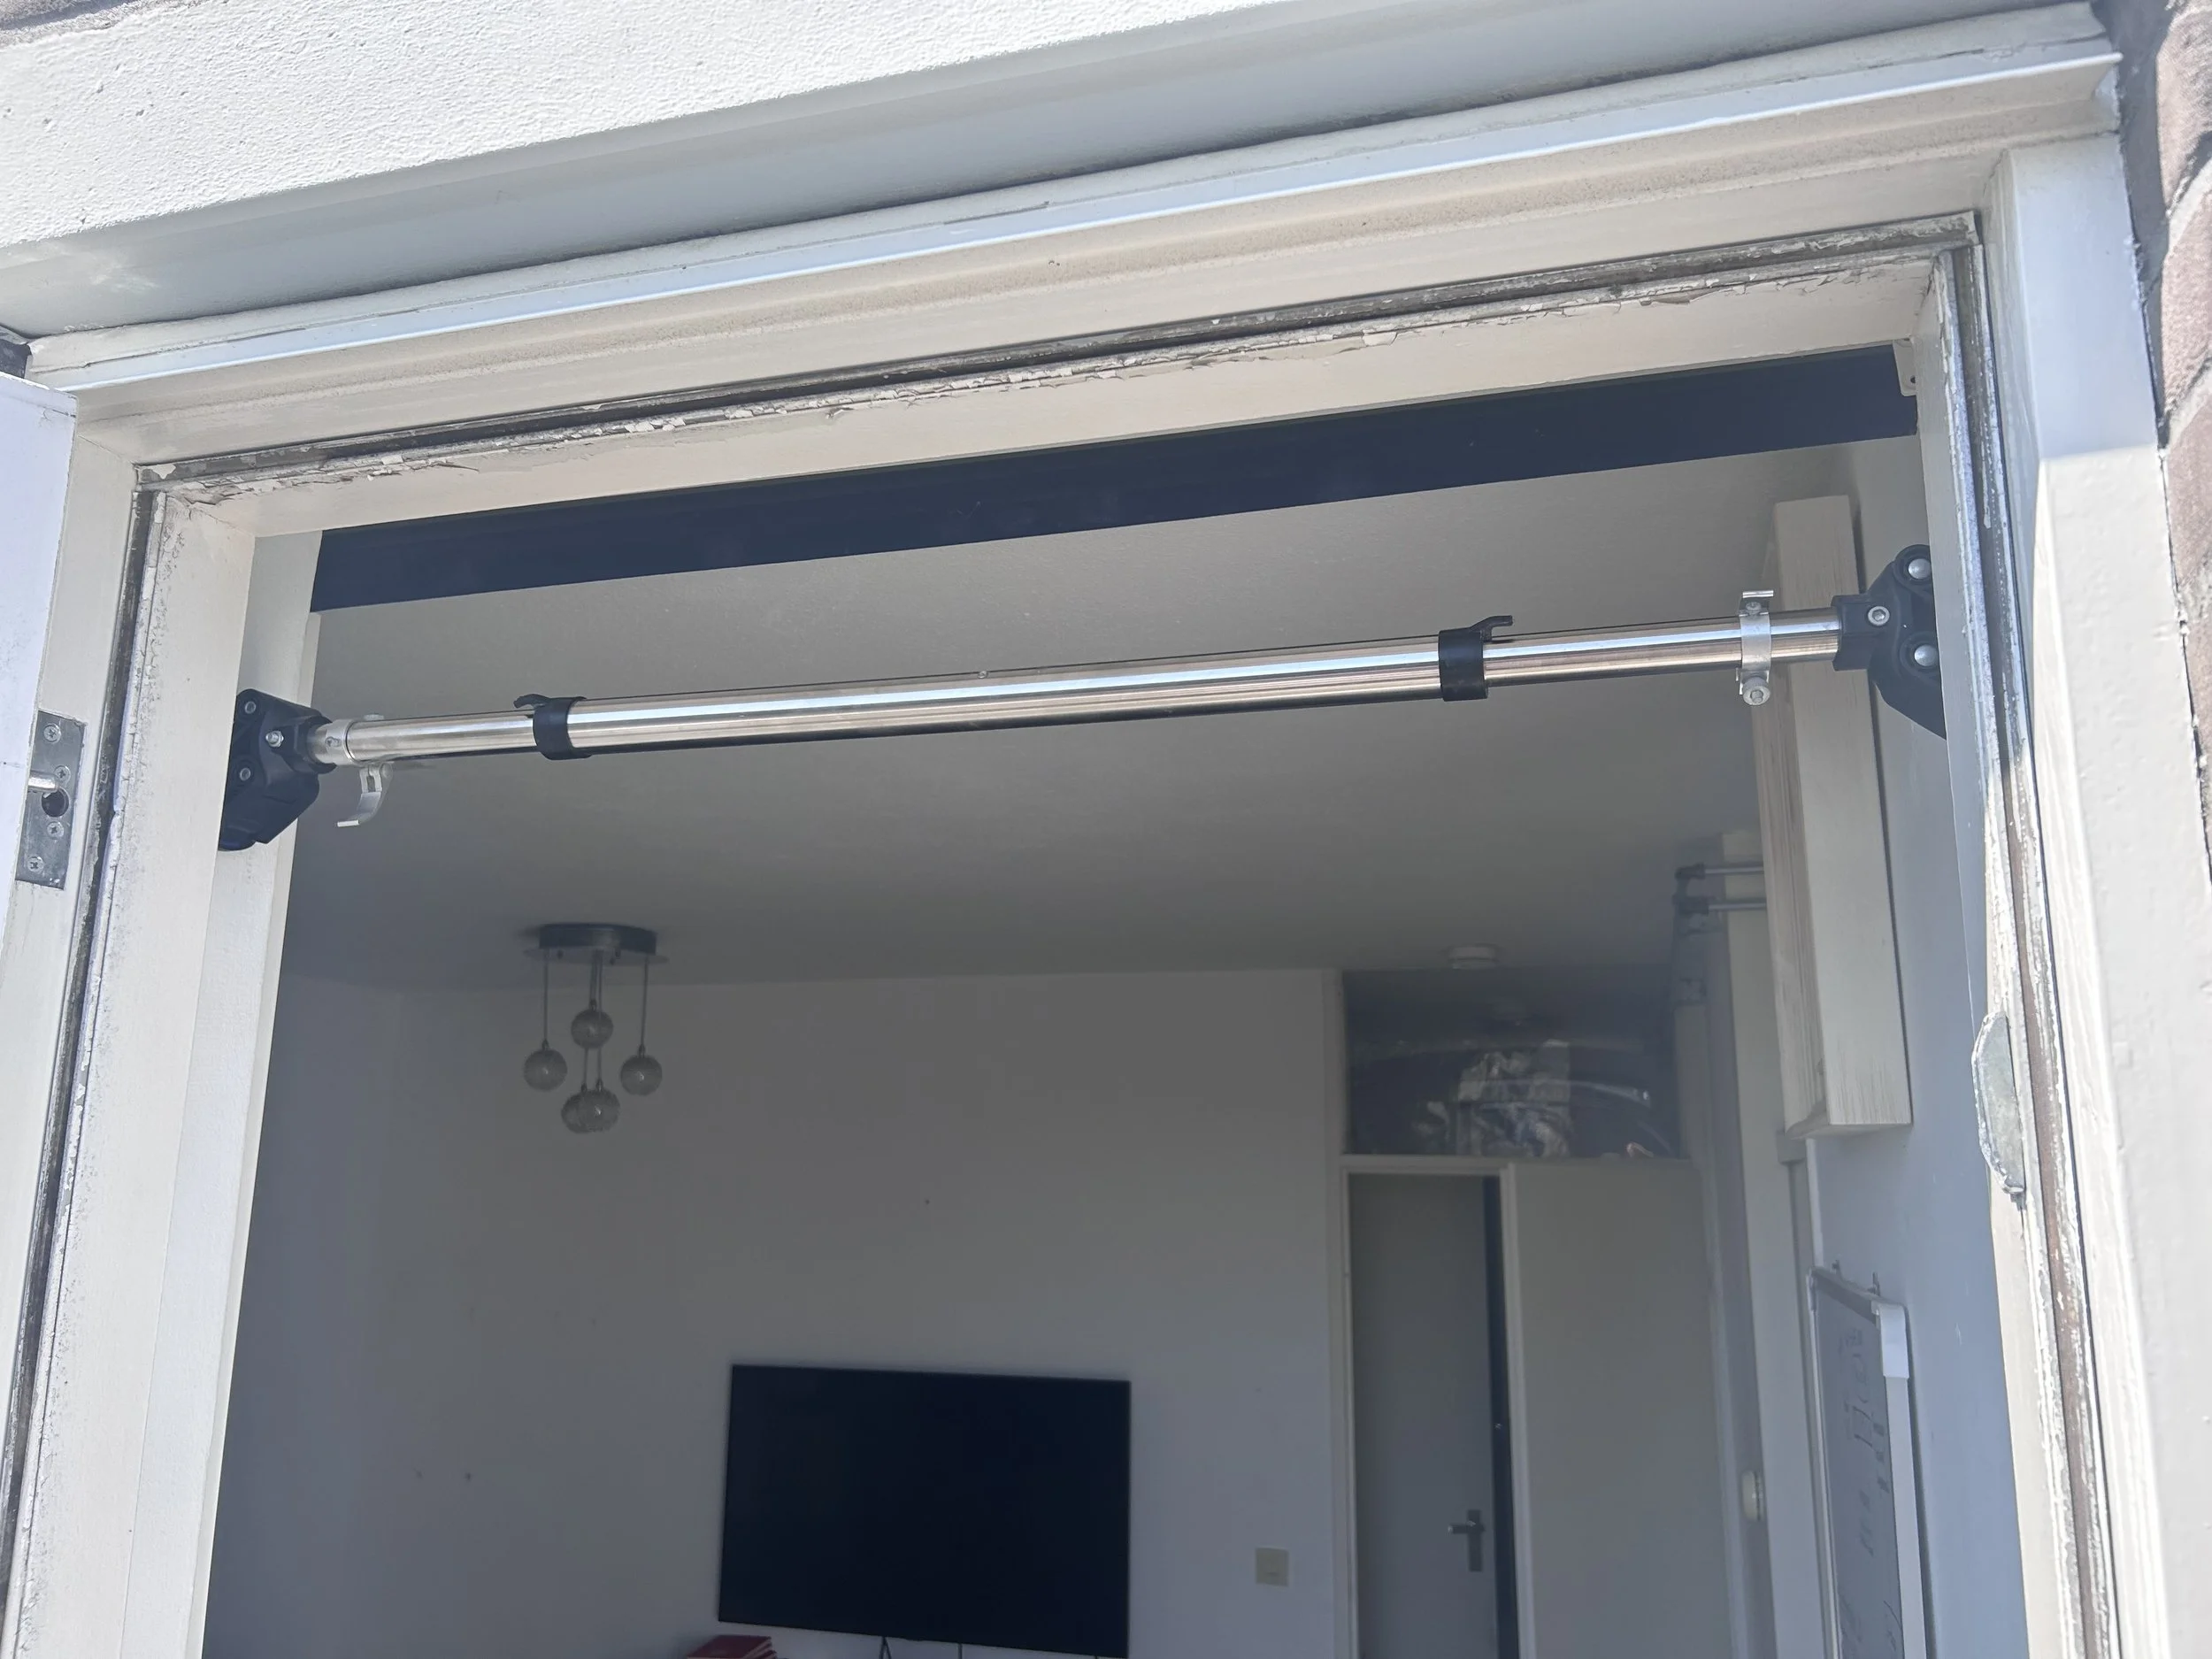
Installing a pull-up bar used to mean a stud finder, a masonry drill bit, and an afternoon you didn't plan on losing. A no-screws doorway bar skips all of that. No drilling, no wall plugs, no trip to the hardware store — just a doorway and about two minutes. Here's exactly how to get it set up right, whether you're in a classic Amsterdam doorway or a newer build.
Why No-Drill Actually Holds
A no-screws bar doesn't rely on screws at all — it relies on leverage. The bar wedges across the door frame using adjustable arms and padded end caps, and your own body weight is what keeps it locked in place. Pull down on the bar and the pressure increases against the frame, so the harder you pull, the tighter it holds. No wall plugs, no studs to hunt for, no difference between a wood frame, plasterboard, or old Amsterdam brick behind the trim — because the bar never touches the wall itself, it grips the door frame.
That's also why it's the better call for renters. Nothing gets drilled, nothing gets patched, and your deposit stays exactly as safe as it was before you bought a pull-up bar.
Measuring Your Doorway Before You Buy or Mount
Measure the width of the door opening at the point where the bar will sit — not just the frame, but any trim or architrave that sticks out, since that's what the end caps actually grip. Most no-drill bars adjust across a doorway range of roughly 73 to 95 centimeters, which covers the overwhelming majority of standard interior doors, including the older, narrower frames common in Amsterdam apartments. If your doorway falls outside that range, or your trim is unusually deep or oddly profiled, check the product's listed range before mounting rather than forcing a fit.
Check overhead clearance too: you want at least 30 centimeters between the bar and the top of the frame with your arms extended above it, so a dead hang or a kip doesn't end with your knuckles against the ceiling.
Setting It Up in Two Minutes
Extend the bar's telescoping arms roughly to your doorway's width, leaving a little room for fine adjustment.
Rest the bar across the frame at your chosen height, padded end caps against the trim on both sides.
Twist or press the bar's built-in lock (check your model — it's usually a lever or a twist-lock collar) until both ends sit snug against the frame with no wobble.
Fine-tune the width a few millimeters at a time until the bar feels fully wedged, not just resting.
No drill, no screws, no wall plugs. That's the whole install.
Common Mistakes With a No-Drill Bar
The most common mistake is mounting on a doorway that's right at the edge of the bar's adjustable range, which leaves too little tension to hold securely. The second is skipping the lock mechanism entirely and assuming the bar's own weight will keep it in place — it won't, under load. The third is ignoring ceiling clearance and only noticing it mid-set, when your head or hands are already closer to the ceiling than expected.
Test It Before You Trust It
Once it's wedged in place, don't go straight into a full set. Hang your full bodyweight for about 10 seconds and check that nothing shifts or slips. Then do a single slow pull and check again. Only once both of those feel completely solid should you load in a real session. It takes less than a minute, and it's the difference between a bar that surprises you mid-rep and one you stop thinking about entirely.
Taking It Down Later
This is where a no-drill bar earns its keep twice over. Unlock the mechanism, collapse the arms, and lift it off — no patching, no spackle, no screw holes to fill. Move flats, swap doorways, or pack it away for a few weeks; it comes off exactly as cleanly as it went on.
Two minutes to set up, zero marks when you take it down. That's the whole point.
Get a pull-up bar built for a no-drill, two-minute setup → /home-pull-up-bar
